|
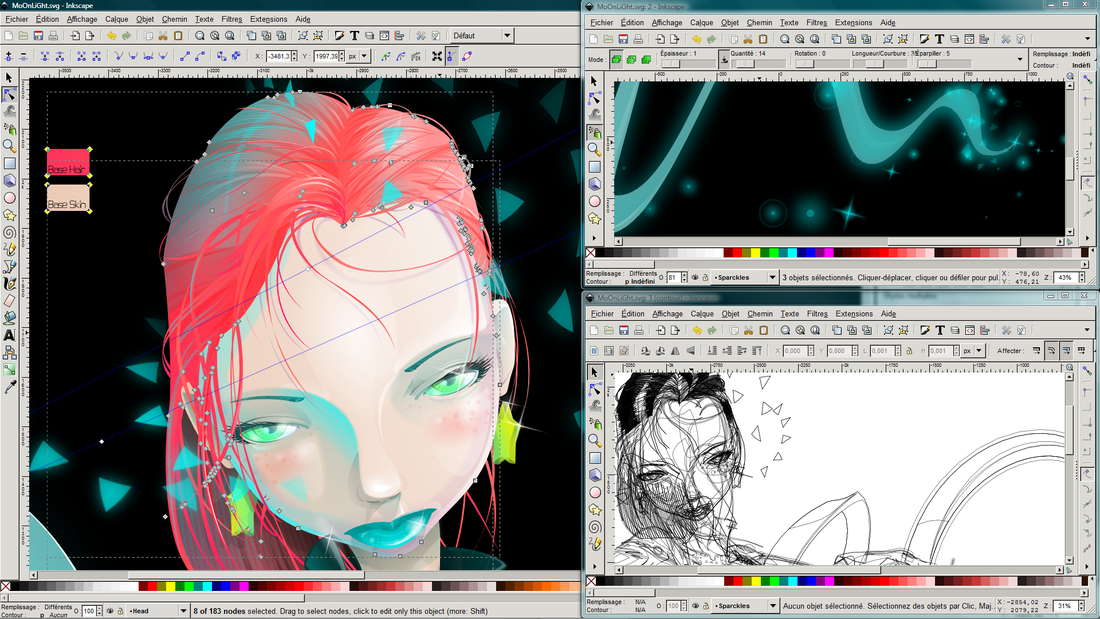
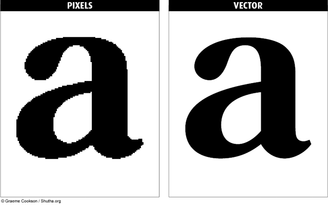
Until recently, when someone mentioned stickers I thought of the pages of foil stickers that parents buy at the dollar store for their kiddos to ravage, or the booklets of "Good Job!" stickers that teachers use to mark students' quizzes , or the oh-so-exciting 3D and/or smelly and/or fuzzy stickers that I buy for no reason at all and then keep under my bed for a year! Really though, stickers are cute and maybe fun, but they're not exactly innovative or high tech or even super cool anymore, right?  At my internship with the Innisfil Library and IdeaLAB I discovered that yes, stickers are definitely still cool! Especially when you can make your own! So, without further ado, I would like to introduce: 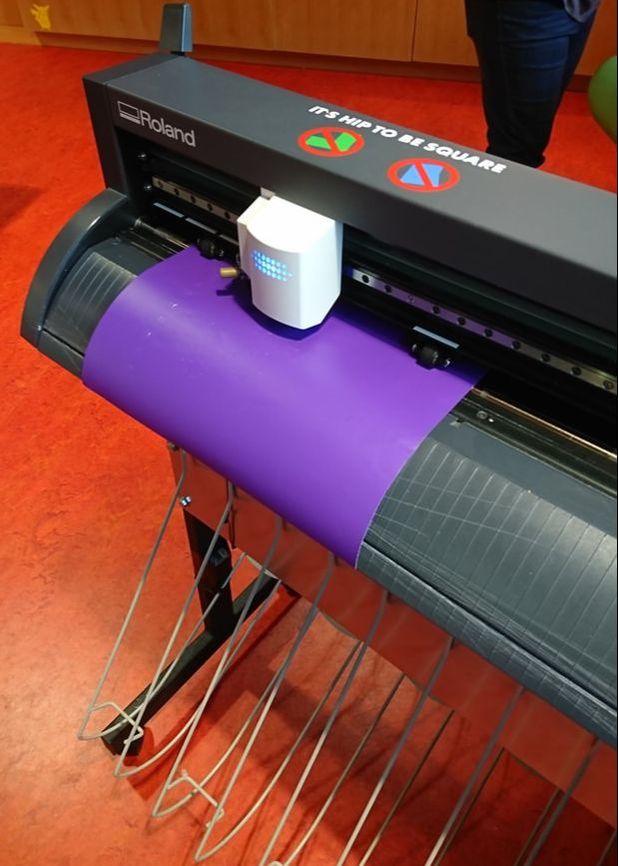 Roland the Vinyl Cutter! This vinyl cutter is the fancy machine that I used at my internship site to 'print' my very own stickers. This is step two out of three however, so let me backtrack a bit here. First, I designed my sticker using Inkscape. Inkscape is a free (!) vector graphics editor which, in my experience, simply means a program on which you can draw and/or design images etc. that use vectors instead of pixels. For sticker-making purposes this is necessary, because (as you can see in the representative image below) pixelated images have rough edges that poor Roland would have a very hard time cutting out accurately, whereas vector images have smooth edges that are much easier to cut along! When you initially begin working with this program I think it is a bit frightening, but with practice it becomes pretty easy! *As a side-note, this program can be used in so many other ways, so you should check it out even if you're not sticker-making!
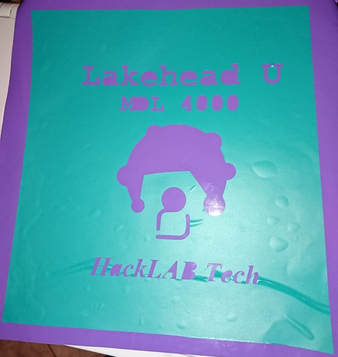
The second step was to send my design to Roland. Thanks to the vast intelligence of Roland and the computer that I Inkscaped on, all I had to do was select print, then get (vinyl) size from machine, then go. After that Roland just started doing his duty and cutting my sticker while I looked on in awe. Now, as cool as all the digital and technical parts of this process were, my favourite was the final step which was all on me to do by hand (gasp, I know). Once the sticker was cut, I had to pick it. In other words, I pulled off the bits that I did not want in my sticker, and purposely left behind the parts that I did want. I kept both parts, for the express purpose of showing others how it works!
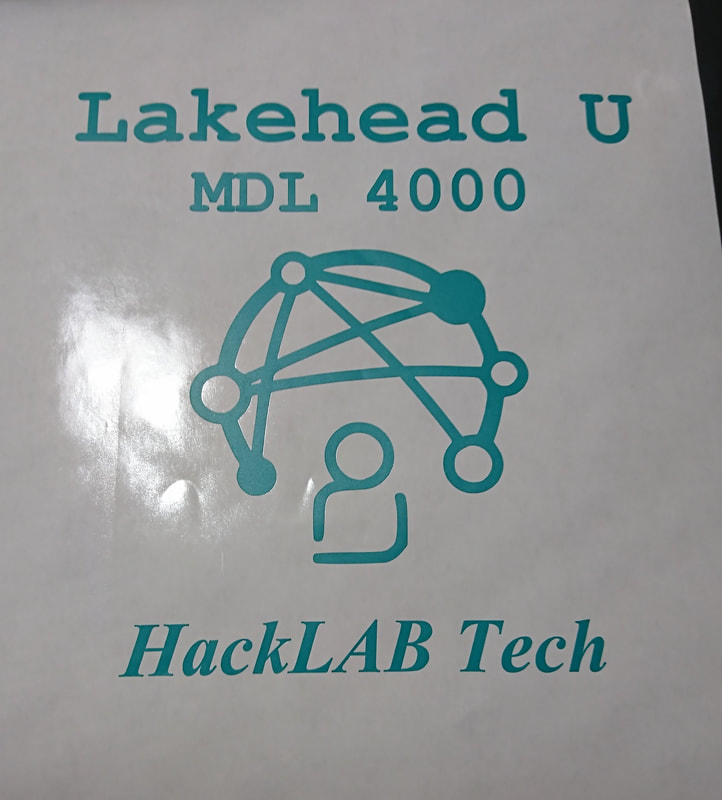
So the image on the right is my final sticker, and the image on the left is what I peeled off, and what would normally be discarded (though technically, you can do it the other way around if you want, and pull out the smaller bits to purposefully keep the frame, its up to you because its your sticker!). I think that this would be an AMAZING activity to do in an elementary classroom! For Global Maker's Day my partner-in-internship-crime Rachel and I brought in stickers for the whole class to pick, and it went over really well! 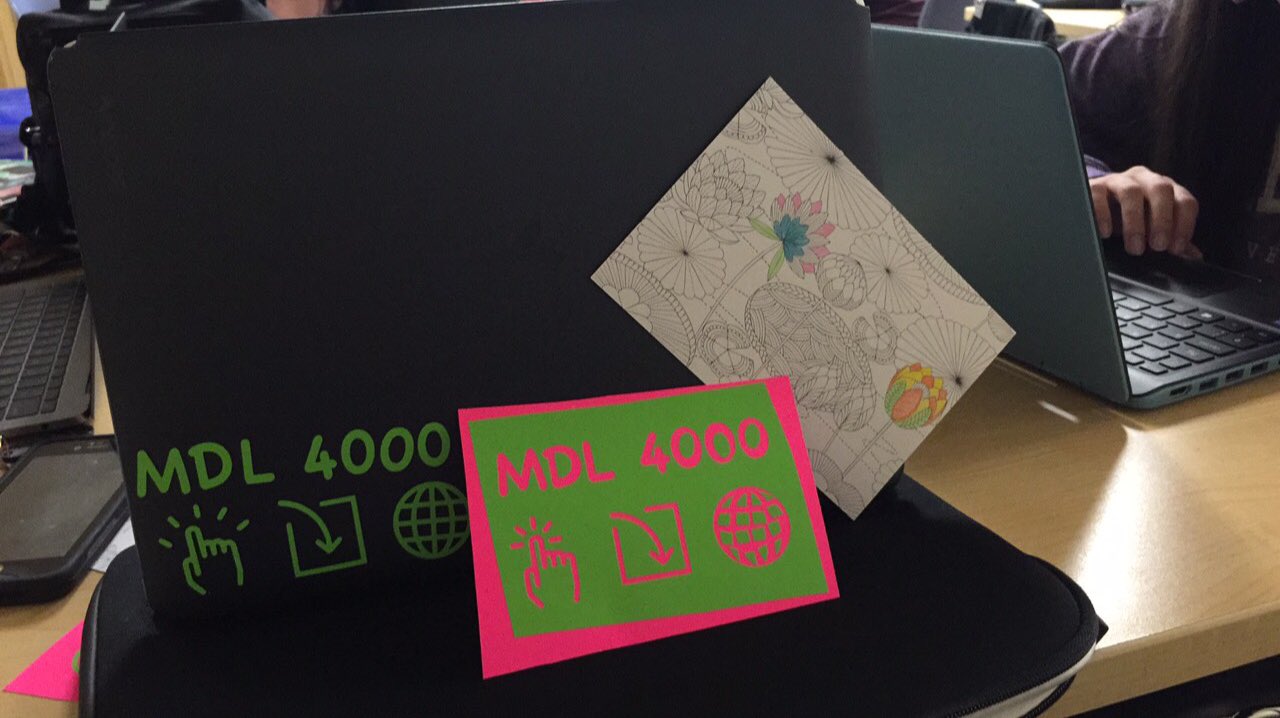 Our super-cool MDL 4000 stickers! This is probably the easiest way to bring vinyl stickers into the classroom. I think it would be even cooler however, to have kids do the whole process, because it gives students the opportunity to be creative; especially older kids who, according to test scores, are getting less and less creative (Miranda, 2012). Not everyone has a Roland Vinyl Cutter - nor a Cricut, though these could also work! - but thanks to places like the Innisfil Library, its still an actual possibility! A teacher can book space and time in the HackLAB at the library to do the entire process there, using their computers and programs. Another option however, which is the route that I am most likely to take in the future, is to prepare and design in the classroom, then print at the library, and bring the cut stickers back to the classroom for students to pick. As I mentioned above, Inkscape is a free program, and is not too difficult to learn (at least as much as is necessary for sticker making), so it could be added to and used on classroom devices easily. Students then have the opportunity to design their stickers, taking as much time as they need. The building of anticipation too would be an added bonus in this situation, as the students await the arrival of their very own stickers! Once they do, they can pick them together in their classroom! This whole process is a lovely mix of technology and art that will engage and benefit any child (or adult, for that matter) as they stretch their creativity! (Van't Hul, 2016) Some advice from a (somewhat) experienced sticker maker:
Happy sticker making! 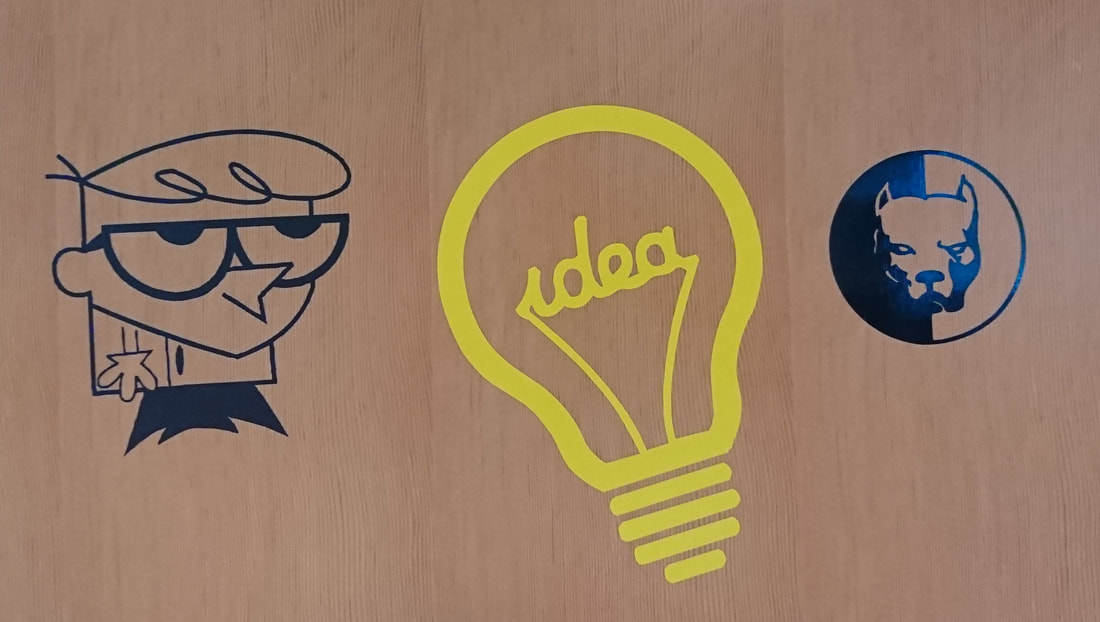 Just some other sticker examples! References:
Miranda, C. (January 2012). Why we need to let kids be creative. Retrieved from http://www.cnn.com/2012/01/03/living/let-kids-be-creative-p/index.html. Van't Hul, J. (January 2016). The Benefits of Art for Kids. Retrieved from https://artfulparent.com/2016/01/the-benefits-of-art-for-kids.html.
2 Comments
|
AuthorCassy. Teacher in training, student, reading enthusiast, and dog mom. Archives
January 2018
Categories |
 RSS Feed
